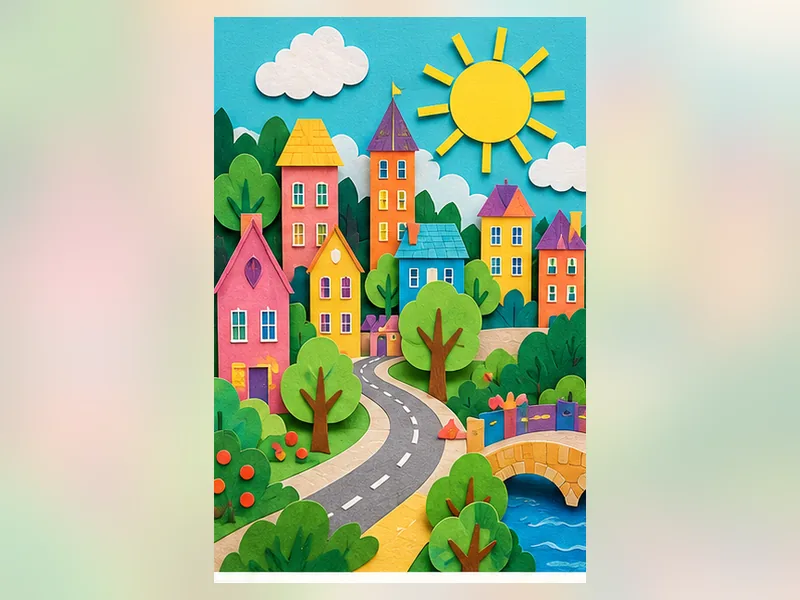
A collage is a picture assembled from separate materials. Build a skyline from paper rectangles and add original details with smaller shapes.
What you will learn
Collage builds pictures by arranging and attaching materials.
Skills: Spatial arrangement, shape construction and storytelling
Jump to picture steps ↓What you’ll need
- Scrap paper
- Glue
- Safety scissors with supervision
- Large backing sheet
Get ready: Prepare safe scrap-paper pieces and a large backing page.
Make it, one picture at a time.
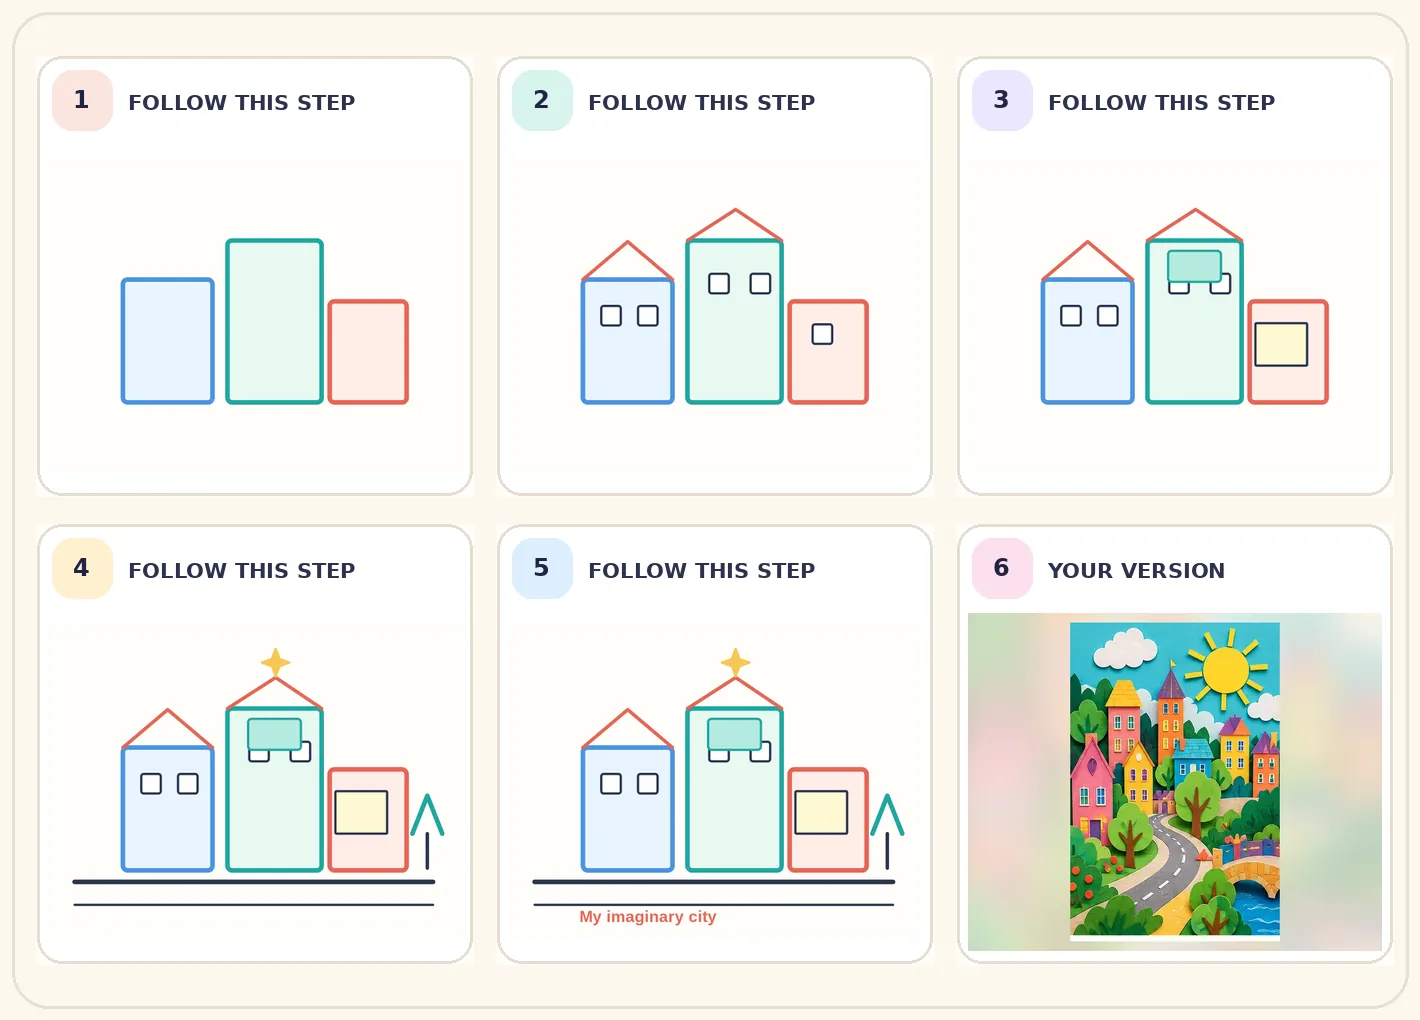
Look at the picture, try that step on your paper, then move to the next. Follow the numbered stages, then choose your own colours and details.
 STEP 01
Cut several rectangles for buildings and narrow strips for roads.
 STEP 02
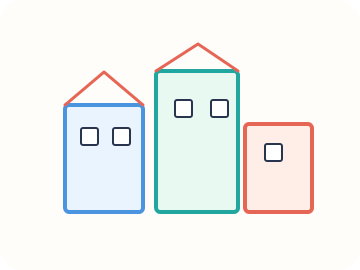
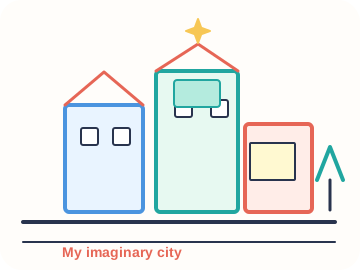
Make windows using small squares. Create roofs with triangles or folded paper.
 STEP 03
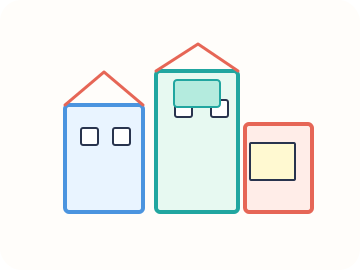
Place the tallest buildings at the back of the sheet before gluing anything.
 STEP 04
Add a street, a tree and one unusual building, such as a library shaped like a rocket.
 STEP 05
Glue the shapes in place, then describe who lives or works in the city.
Make it your own
Try reusing magazine paper or clean packaging. An adult should supervise cutting where appropriate.
Talk about it: What makes your city different from a real one?
Help a young artist learn
These practical notes are for parents, carers and teachers. Children can follow the picture steps above.
For parents and carers — teach together
Start together
Prepare safe scrap-paper pieces and a large backing page.
During the activity
Move buildings around without glue until the child likes the composition.
Afterwards
Ask: What makes your city different from a real one?
For teachers — classroom adaptation
Learning focus
Spatial arrangement, shape construction and storytelling
Demonstrate and guide
Organize a shared materials table; teach layering before gluing.
Observe, do not grade the artwork
Ask learners to describe one choice they made and one thing they would try differently.
Make it easier or take it further
Make it easier
Use only three rectangles and triangle roofs.
Extra challenge
Add a map showing where a person would walk in the city.
Keep creating
Make animals using circles, triangles and squares
An easy drawing challenge that shows how complex pictures begin with simple shapes.
Make a movable paper character
Create a simple character with arms and legs that can be moved for storytelling.
Activities are suggestions, not assessments. Adapt materials and supervise as needed.