Build a character from separate paper parts, then rearrange the pieces into different poses. It is a simple introduction to animation puppets.
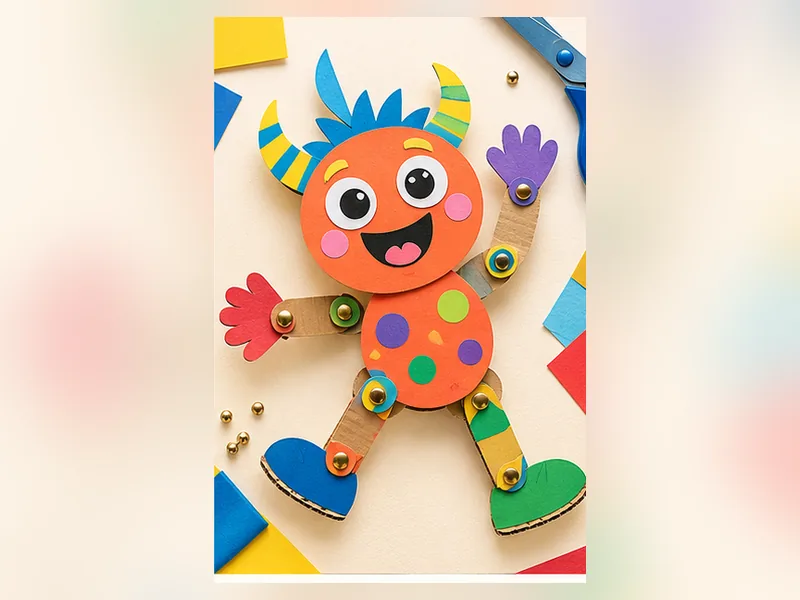
What you will learn
Separate shapes can become a movable character.
Skills: Shape planning, simple joints and storytelling
Jump to picture steps ↓What you’ll need
- Card paper
- Colour pencils
- Safety scissors
- Paper fasteners or small paper loops
Get ready: Pre-cut pieces and use only adult-approved, age-appropriate fasteners.
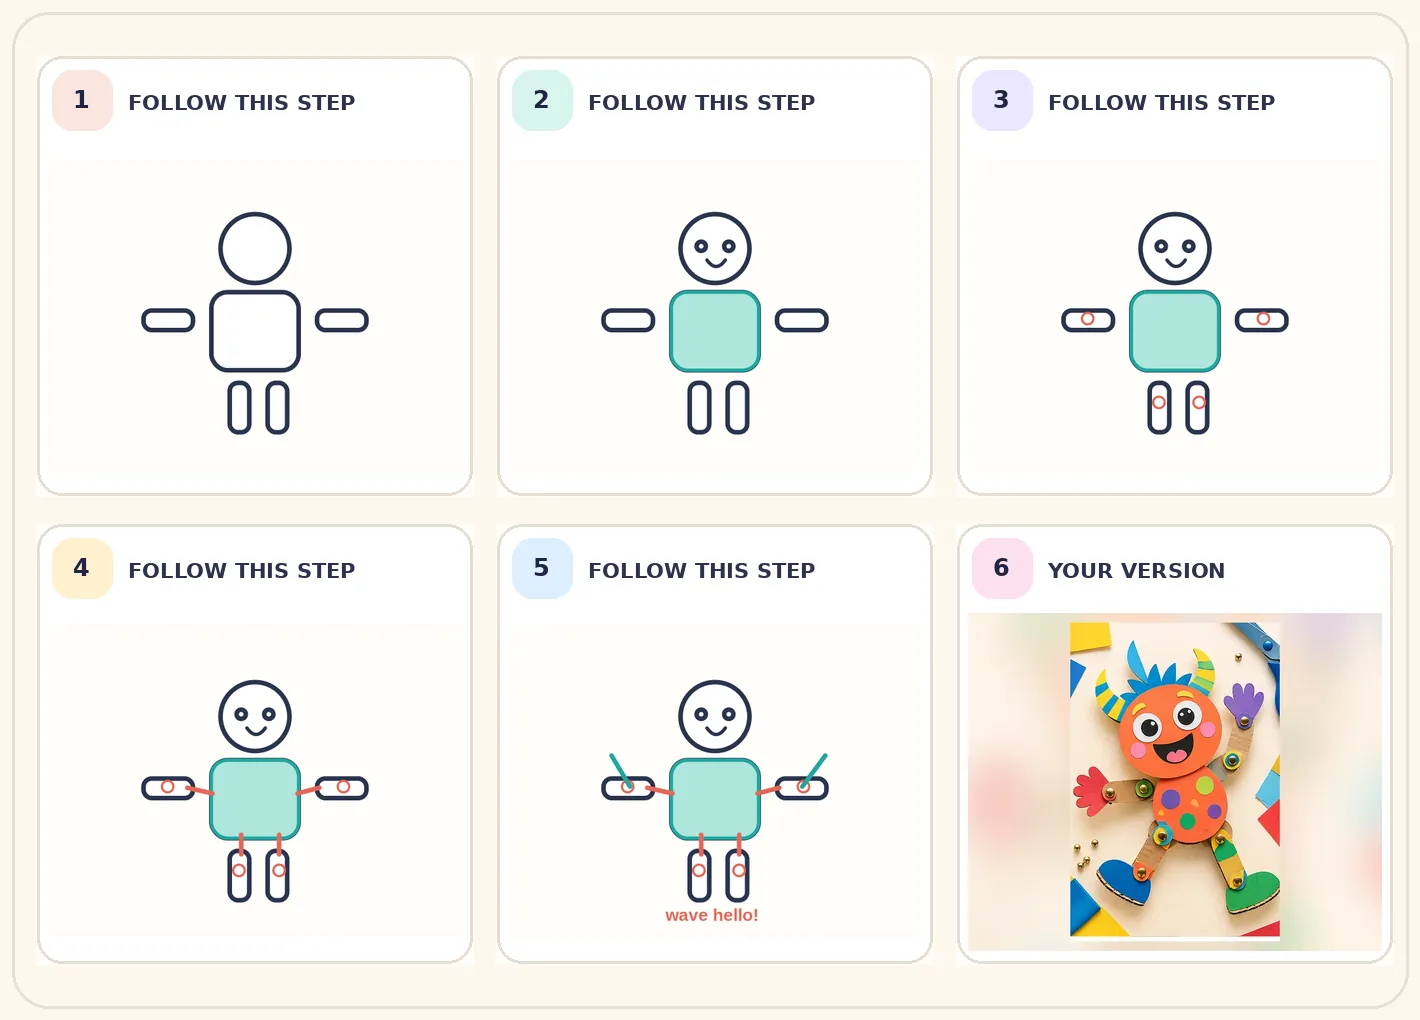
Make it, one picture at a time.
Look at the picture, try that step on your paper, then move to the next. Follow the numbered stages, then choose your own colours and details.
 STEP 01
Draw a large body and a separate head, arms and legs on card.
 STEP 02
Colour each piece before cutting, so small sections are easier to handle.
 STEP 03
Ask an adult to cut out the parts and prepare safe connection points.
 STEP 04
Connect the limbs with suitable paper fasteners, or use folded paper loops as simple joints.
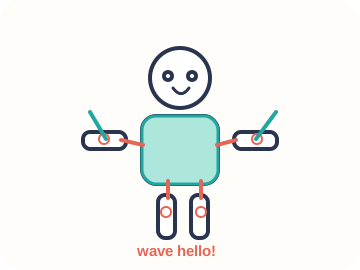 STEP 05
Pose the character in three different actions and make a short story about one pose.
Make it your own
You can create a non-jointed version by laying pieces on a table. Avoid small fasteners with young children.
Talk about it: How do the arm positions change what your character is doing?
Help a young artist learn
These practical notes are for parents, carers and teachers. Children can follow the picture steps above.
For parents and carers — teach together
Start together
Pre-cut pieces and use only adult-approved, age-appropriate fasteners.
During the activity
Model how to move one arm slowly, then let the child try.
Afterwards
Ask: How do the arm positions change what your character is doing?
For teachers — classroom adaptation
Learning focus
Shape planning, simple joints and storytelling
Demonstrate and guide
Prepare a no-fastener alternative and a safe cutting station.
Observe, do not grade the artwork
Ask learners to describe one choice they made and one thing they would try differently.
Make it easier or take it further
Make it easier
Draw a single unjointed character on paper.
Extra challenge
Create three character poses for a short animation.
Keep creating
Create a paper stop-motion scene
Make paper characters appear to move with a series of photographs.
Build a colourful paper-collage city
Use cut-out shapes to invent a street full of imaginative buildings.
Activities are suggestions, not assessments. Adapt materials and supervise as needed.